“SPINNER BAND” FABRICATION
10/29/2021“Spinner Band” Fabrication
by Bill Fretz
The spinner ring’s band that rotates can be solid wire or sheet, but it also can be fabricated and hollow. This saves weight and makes the ring lighter while still having a bold element. If this part of the ring is made of precious metal, such as gold, it also adds “perceived value” to the finished ring. The ‘spinner “ in this article is defined as the rotating part, or the top of the ring.
The ring that touches the finger is a size 9 made from 20 gauge sterling silver sheet.
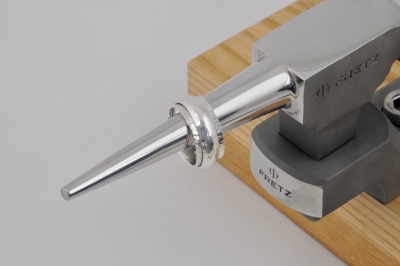
The band was soldered and then polished to remove all the firescale. The hammer texture stretched the ring about half a size, so factor that into your starting ring. One end of the ring was flared to keep the “spinner” from sliding off when completed.
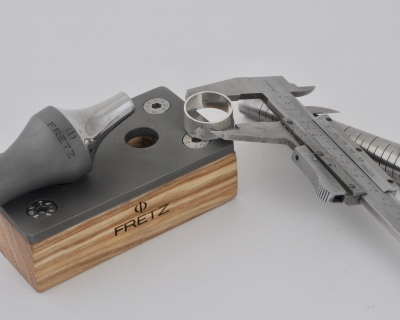
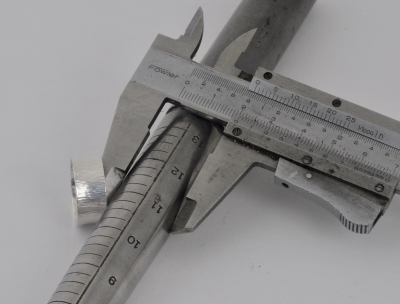
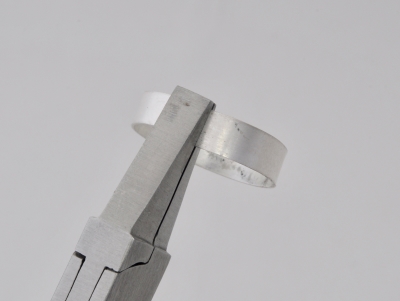
The first step of the “spinner” is to measure, with a caliper, the outside diameter of the ring’s center after it has one side flared in the jig.
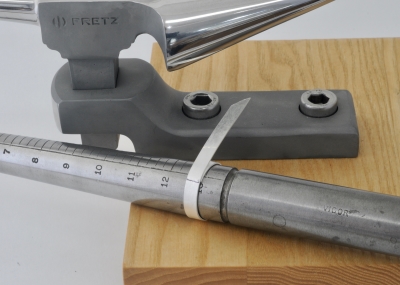
This outside measurement is then transferred to a ring mandrel to see where it lies. In this case it is a size 11. The “spinner’s” starting stock, or the band that rotates on the ring, must be made about two sizes larger than the outside of the host ring. The extra size is needed because the band will be raised in on miniature stakes. The donut hole part of the ring will get much smaller as the raising proceeds.
A 5.5 mm width of 24 gauge sterling sheet is cut and wrapped around the ring mandrel as tightly as possible at a smaller size than is needed. Making it smaller will keep the strip tight to the mandrel as it moves up the taper. Slide the strip up the ring mandrel so it is two sizes larger or at the 13 mark. Mark with a scribe or thin marker pen.
Cutting the strip in a tube cutter will make the cut square, true and sharp. If cut with a shear, the ends will be crimped slightly and need to be filed flat. Filing true is actually very hard. Having the ends meet evenly will be a big benefit when soldering as the seam will be much thinner, stronger and not show.
The goal is to have the two ends of the strip meet with no light between the seam. Making them even is accomplished with flat pliers. Gently closing the two ends together with the pliers will make them lie flat together. Having a flat spot makes placing the solder easier as it won’t roll as it would on a curved surface. Solder the two ends together with hard solder. Clean up any excess solder and polish so all the firescale is removed.
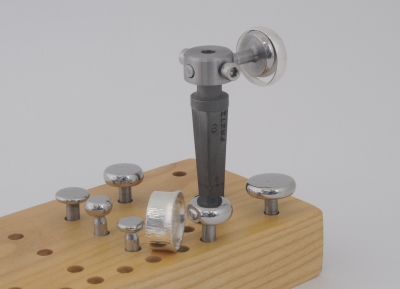
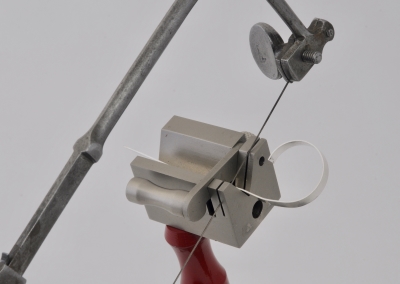
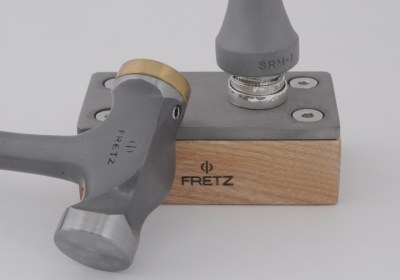
There are multiple stakes or dapping punches that will dome the band but none as good as a group of wheels designed for this purpose. There are eight wheels with various diameters and widths. Start with the largest wheel and thickest that will fit inside the band. They are held in the H-2 Holder, that in turn is held in either the H-1 or H-1L Holder.
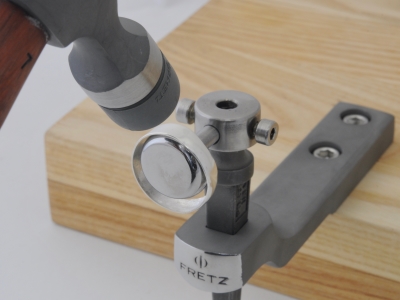
Using a flat nylon insert end in the HMR-7 hammer, the band is raised over the wheel stake. It is important to have the band hang over the edge of the wheel by 1mm to 2mm.
The metal must be compressed downward with overlapping hammer blows as the band is very slowly rotated. The thickest wheel is used for the first raising as it is the easiest to control. One side is hammered down and the band is then reversed to do the other side. This raising domes the metal. The band’s donut hole will become smaller as the raising progresses. The “spinner” should be checked to see how loosely it slides over the ring. If it is too loose proceed to a thinner wheel and raise again to increase the dome and shrink the donut hole. As the band continues to dome, it will fit tighter and tighter on the band. Stop raising when the ‘spinner’ is evenly domed and very tight or just stops sliding on the band. The nylon hammer will leave no marks.
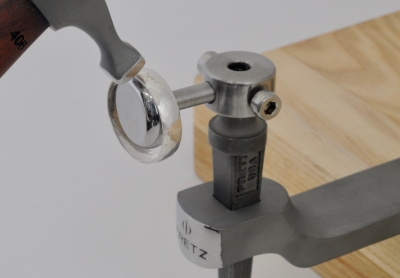
The “spinner” is now ready to planish and give it texture. The planishing will stretch the band larger. The light riveting hammer, HMR-406, imparts a delicate texture. Different hammers will leave various textures, so this is a major design consideration. The rounded side of the HMR-1 planishing hammer is a good choice if a more robust texture is desired. Check the “spinner” to see that it slides on the band but doesn’t come off the flared side.
File the inside of the “spinner” to make it smooth with a #4 half round file. Next use a rubber wheel on a mandrel in a flexable shaft machine to continue smoothing. The final polishing will make the “spinner “ rotate with less friction.
Check again to see that all parts fit well and do not slide off the first flared end of the band. If the “spinner” slides off, just flair the band a little more in the jig. Lightly polish both parts of the ring so as not to remove the hammer textures. Flair the other end of the band to lock the “spinner” on. Polish the inside of the ring for a pristine presentation.